UPDATE (4/13/15): A commenter pointed out that, indeed, there are separate plugins for SCSS syntax highlighting/auto completion and SASS highlighting/auto completion, so, install the one that is best for you. If you use full-on SASS (so no curly braces, .sass files) then use the SASS one, if you write to .scss files, use the SCSS one. By the way, this is a good post about the differences between SASS and SCSS.
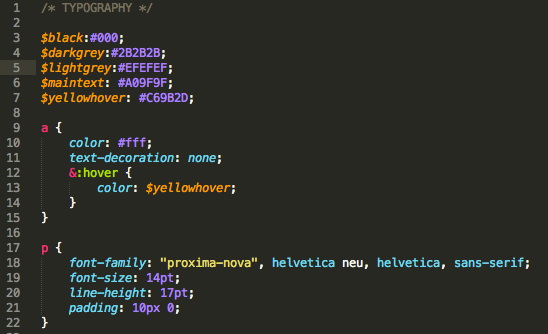
Recently, I’ve been using SASS (the great acronym stands for Syntactically Awesome Stylesheets) for projects. SASS is awesome. It’s powerful and has changed the way I think about writing and organizing CSS. It adds functionality like variables, nesting, and mixins to writing CSS. It’s a preprocessor; basically, you write in SASS, using its logical structures and easy syntax, and then it outputs to plain old CSS. It also integrates with Compass, a powerful CSS framework which I have just barely scratched the surface of.
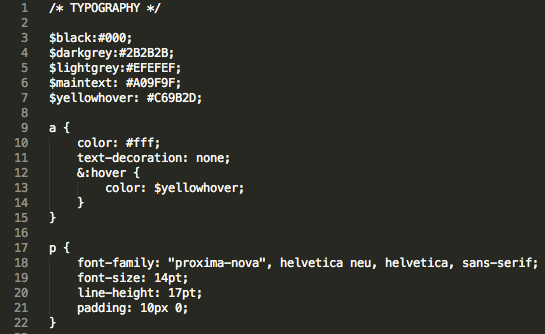
Anyways, I also use the text editor Sublime Text, which doesn’t come with native support for SASS syntax highlighting (specifically, .scss files, which is what I write in). Trying to write code without syntax highlighting is a little like trying to study paintings by looking in black and white museum guides. It’s a huge help when writing code and often helps point out silly mistakes before they happen. I just upgraded to Sublime Text 3 and had to go through the process of adding syntax highlighting again for SASS and thought I’d write up a little guide, since I had forgotten how to do it since I added it to Sublime Text 2.
Alright, first, you need Sublime Text Package Control. This handles packages others write for Sublime Text, and integrates directly with Github. The installation page has good directions, but make sure to read the note for Sublime Text 3 if that’s what you’re using: the only way to install is through Git. You basically just clone the repo into your Sublime Text Packages folder.
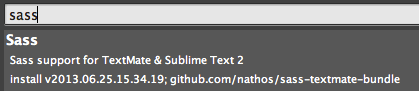
Next you actually have to add the SASS bundle. Open your packages control by hitting command-shift-P (Mac). Type “install” and then click on Package Control: Install Package. You will get another prompt, search for SASS. The package I use is here, and should be the first package that is listed after you search for SASS. Just click on the package name and it will install.
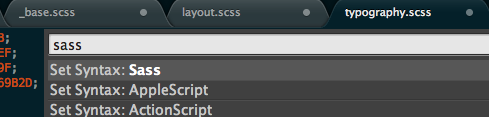
You’re not done yet, though, you actually have to turn on SASS syntax highlighting. Again, hit command-shift-P (Mac), search for SASS, and select Set Syntax: SASS.
And there you go! Your ugly monochrome .scss files should now be colored, beautiful, and functional and you can get on with the real fun of writing CSS. If you don’t see any changes, restart Sublime Text.